Make a background transparent
Explore transparent-background preparation once you have checked the subject’s outline and costume edges.

The AI Halloween Costume Generator on bg-remover.app helps you develop a costume portrait from a written description or an existing portrait. Start with a clear design idea: choose a silhouette, fabrics and a small color palette, then decide how much of the outfit to show. Text to Image starts with a prompt; Image to Image uses one authorized adult portrait as a reference. Set the framing so the face and costume details are easy to review, and keep any props clear of the subject’s outline.
Select Text to Image to begin with a prompt, or Image to Image to work from one authorized portrait of an adult.
Set out the silhouette, fabrics, colors, pose and background. For an edit, say which portrait details to retain and which clothing elements to change.
Check the live credit quote beside Generate before submitting.
Follow task status in History. Review the framing, likeness, colors, fabrics and costume edges when the image is ready.
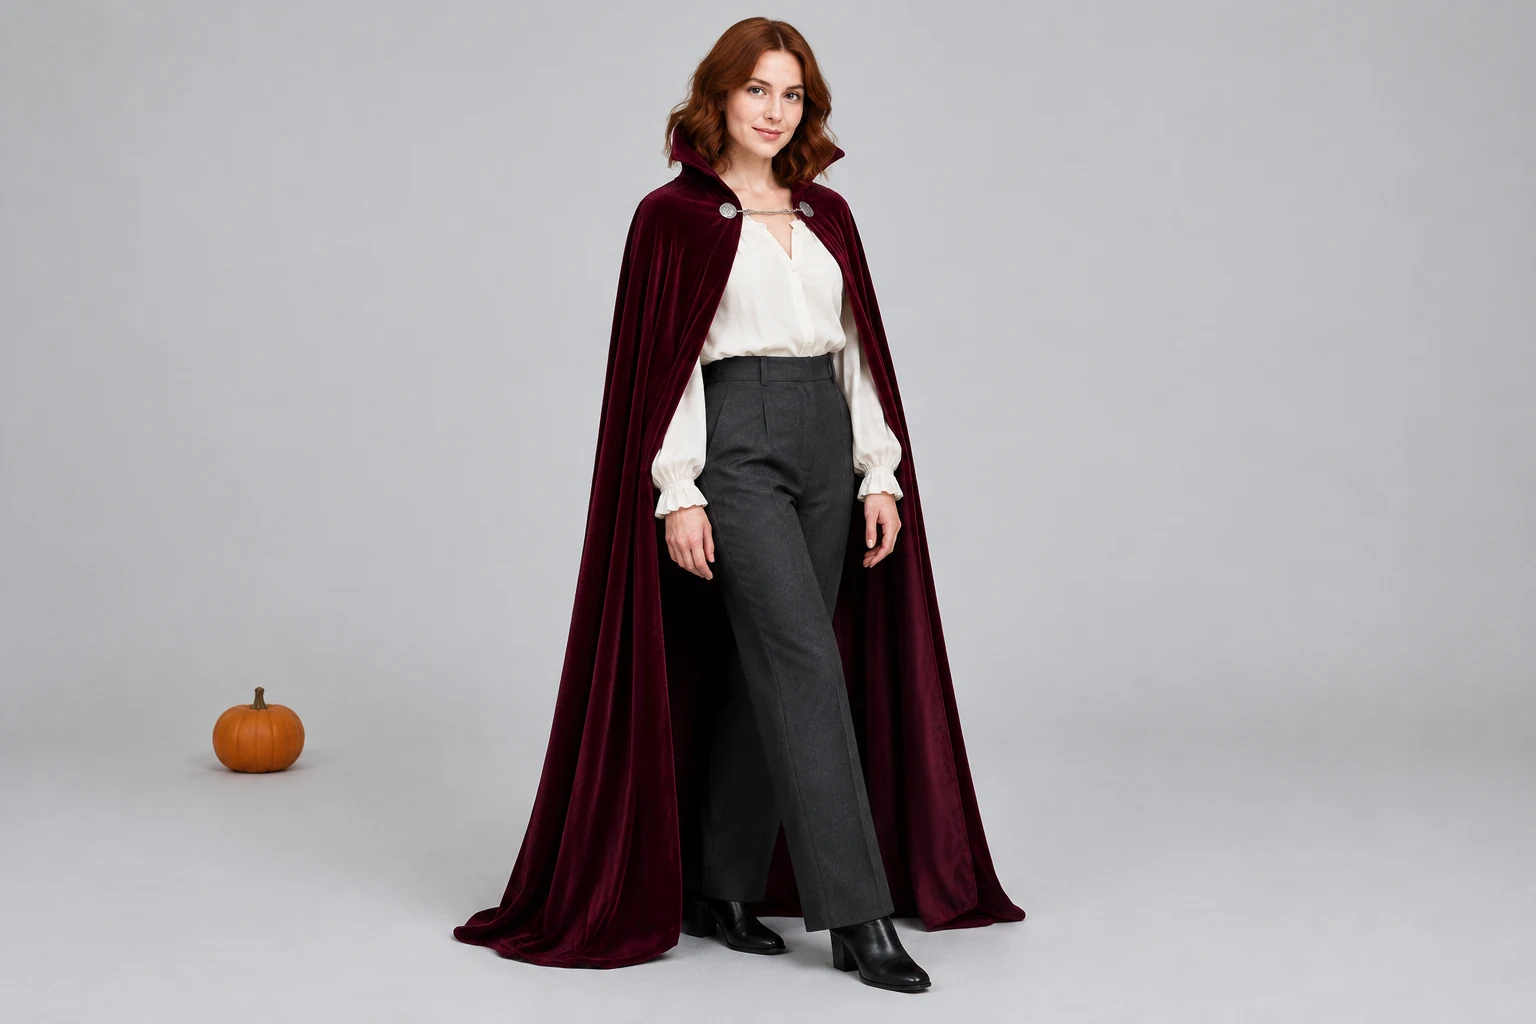
Describe the outfit through its silhouette, materials and colors rather than relying on a costume label alone. For a vampire-inspired look, combine a burgundy velvet cape with an ivory blouse, a simple silver clasp and charcoal trousers. Name the fabric and finish you want: velvet suggests a soft, rich surface, while a crisp blouse creates contrast. Keep the palette focused so the main garment reads clearly. Add only a few defining details, such as a clasp or an unobtrusive prop, to keep attention on the clothing.
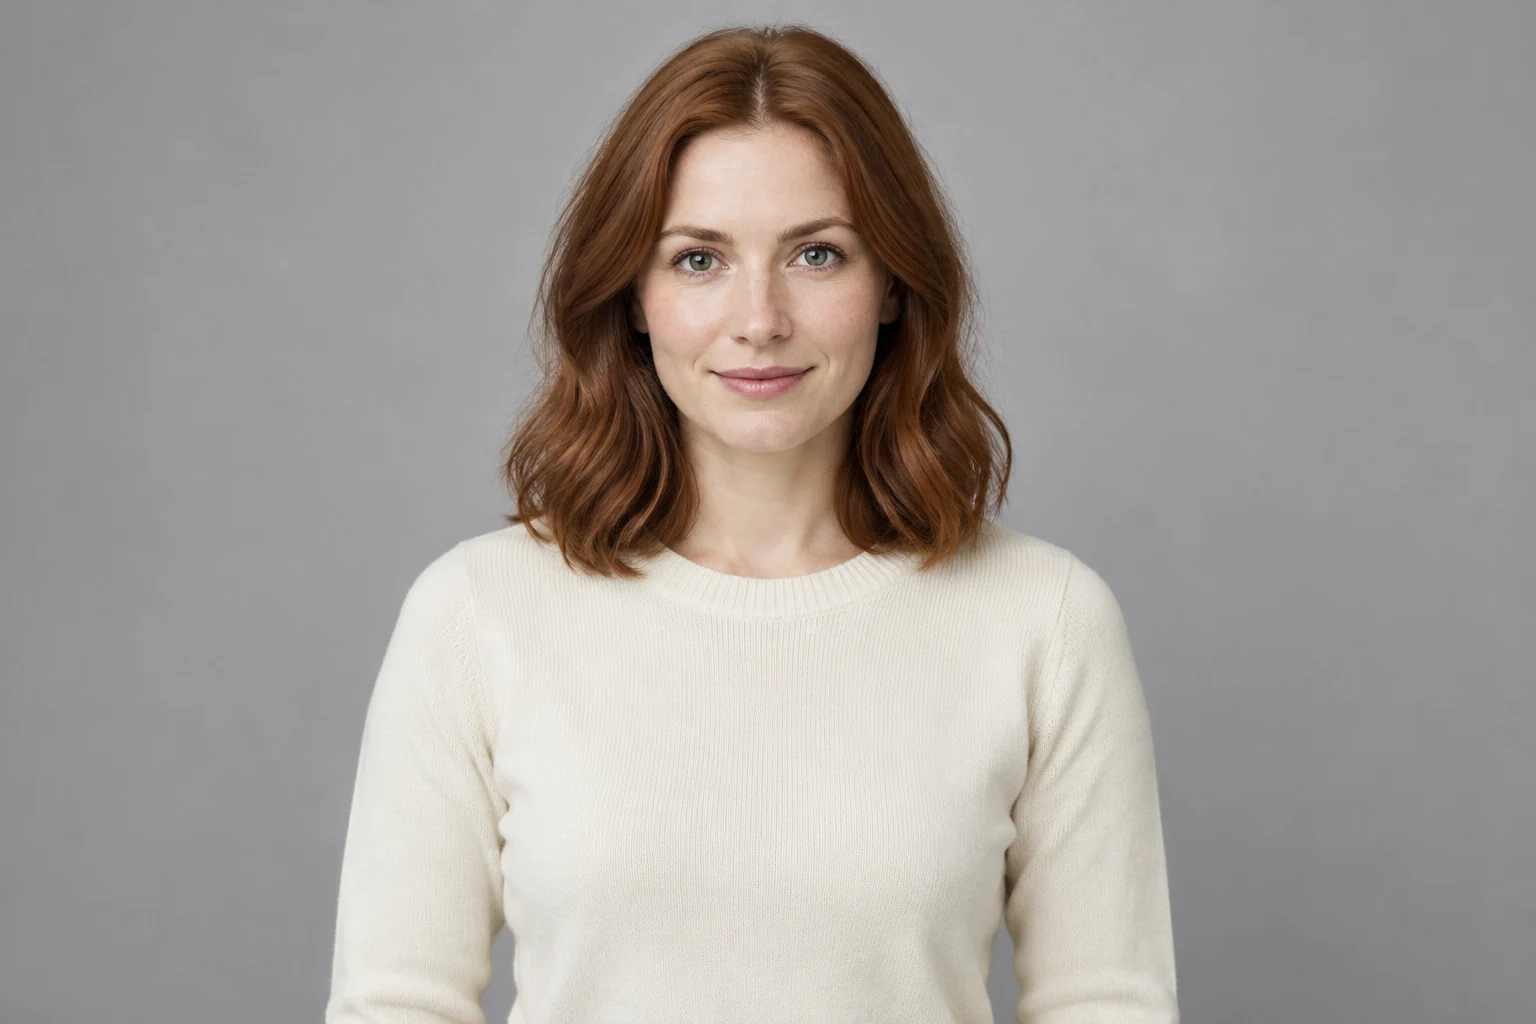
For an image edit, use one authorized portrait of an adult with clear, even lighting and the face, hair and shoulders visible. A simple background makes it easier to judge where the person ends and the costume begins. Avoid cropping through features you want to retain, and choose a pose that leaves room to show the garment. In your prompt, distinguish what should change—the outfit or setting—from what you want to carry through, such as the hairstyle and pose.
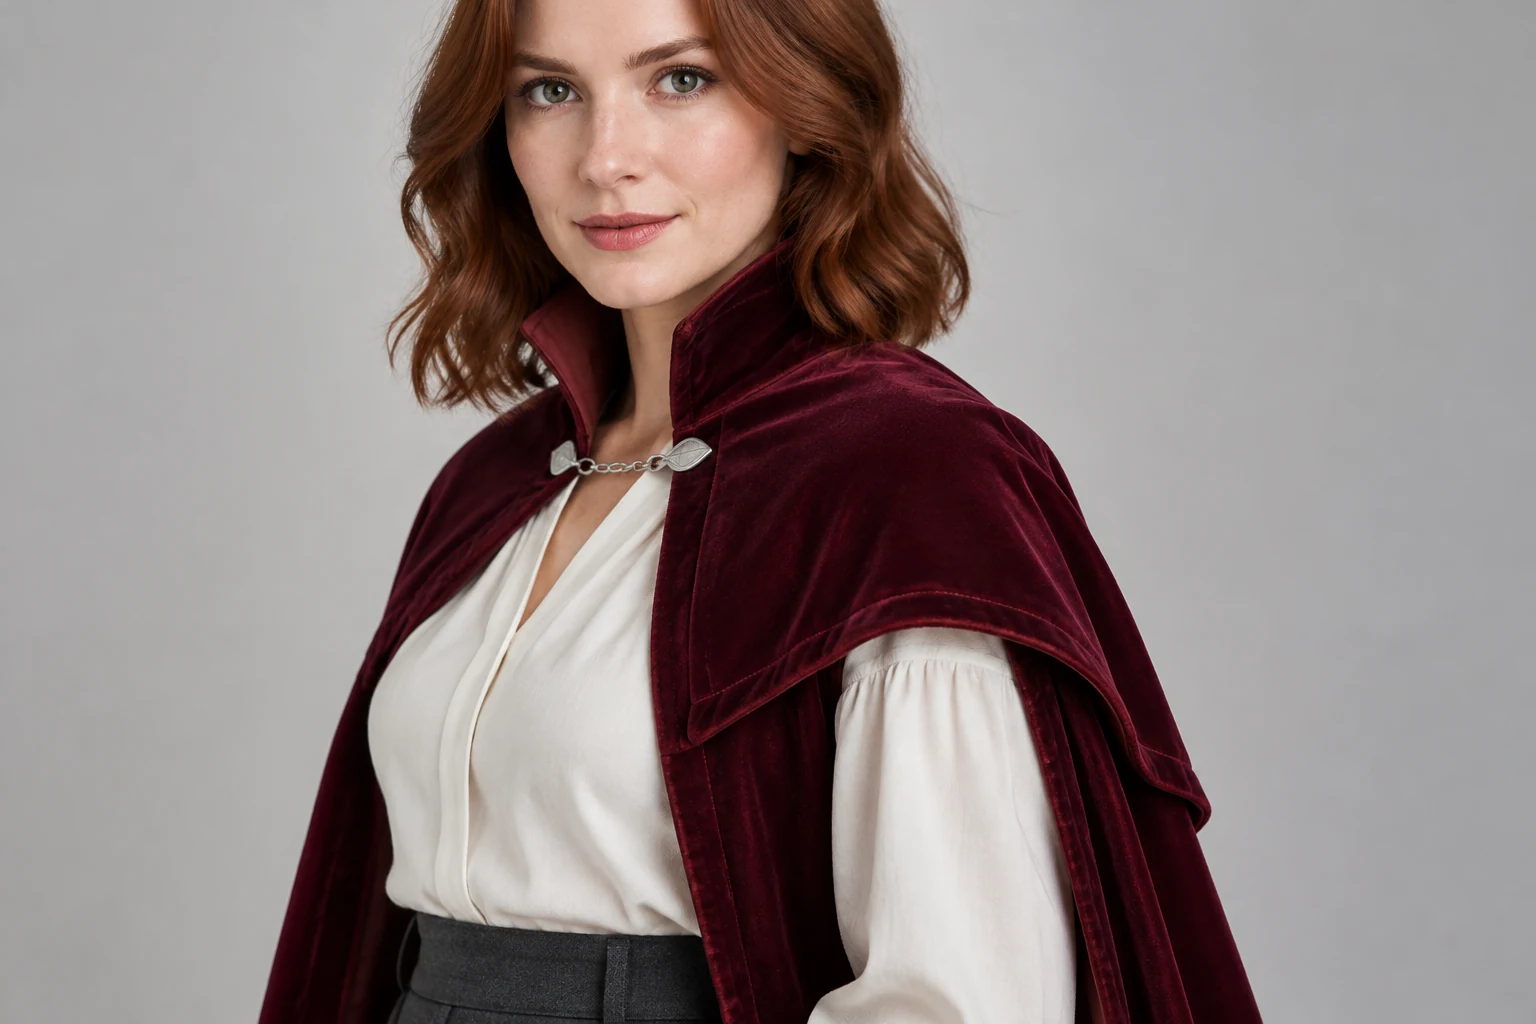
Choose framing to suit the design. A full-body view can show trousers, shoes and a cape hem; a closer portrait gives more space to inspect the face, neckline and fabric. Ask for relaxed, visible hands and leave breathing room around hair, sleeves and flowing layers. Specify how materials should read, such as velvet with a soft sheen or a blouse with a smoother finish. A pale-grey background and even lighting help separate colors and make garment edges easier to assess.

When the image is ready, look at the whole composition first: is the costume’s silhouette clear, and are its key colors and layers easy to distinguish? Then inspect the face, hands, clasp, seams and fabric transitions. Check that the framing includes the details you planned and that props do not overlap the outline. Review the likeness and costume details, then adjust the prompt or framing if another version would better match your concept.
No. Text to Image starts with a prompt. Image to Image uses one authorized portrait of an adult as its reference.
Choose a clear, evenly lit portrait with the face, hair and shoulders visible. A simple background and an uncluttered pose make costume details easier to assess.
Name the silhouette, garments, fabrics and colors, then add a few specific details such as a clasp or neckline. Describe the framing and background so the outfit has room to read.
Check the live credit quote beside Generate before submitting.
Follow task status in History.
Check the likeness and details, including the costume’s colors, fabric appearance, hands, edges and framing. Make sure the important parts of the outfit are visible and clearly separated from the background.
Explore transparent-background preparation once you have checked the subject’s outline and costume edges.
Learn about removing a white background when preparing an image for a different layout.
See the high-definition background removal option for images where edge detail matters.
Review current pricing information and available credits.
bg-remover.app · Updated